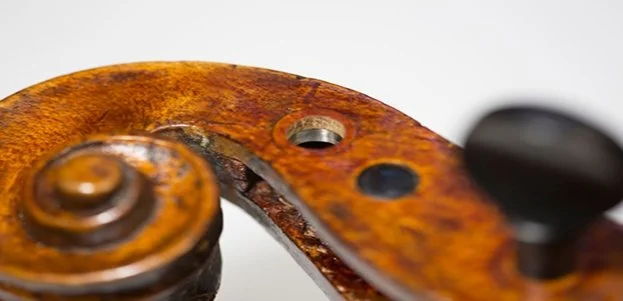
Jack Hu has created a way to fix a peg box crack without revealing the repair, as well as preventing any future opening. The usual procedure for repairing a crack near the peg hole requires the removal of the wood and replacing it with a different piece resulting in a future opening and visible repair work. Jack’s new method is time and cost efficient, as well as durable and concealable. Therefore, this new method can be helpful to those with expensive and student instruments. And now through Jack’s wishes to share this revolutionary method with the community.
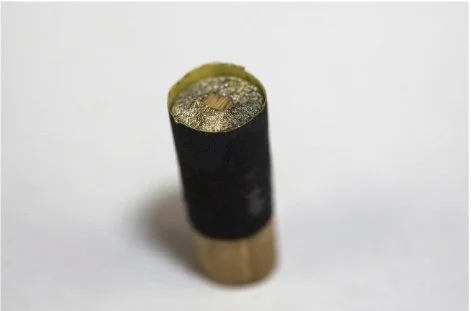
Step 1. After gluing the rack, sharpen a peg bushing to fit the peg hole. Then cut out a square center. The center must be cut in a square shape.
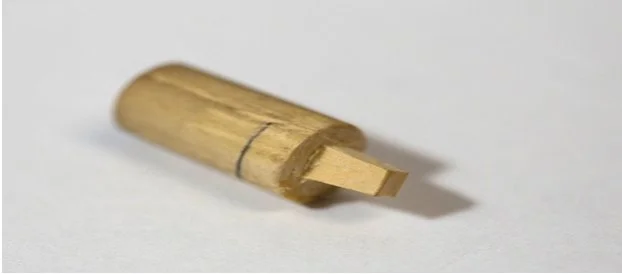
Step 2. Wrap the bushing with strong paper. Sandpaper works well with the grit facing outside and the edge of the paper should meet the top of the square center. Use tape to hold it in place.
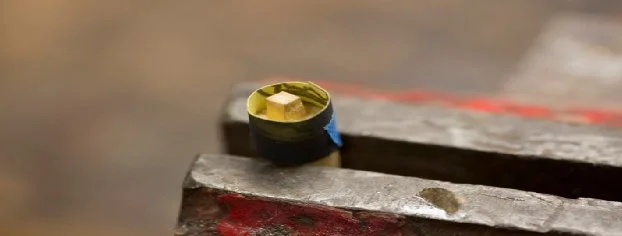
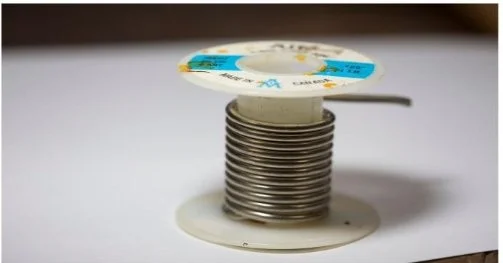
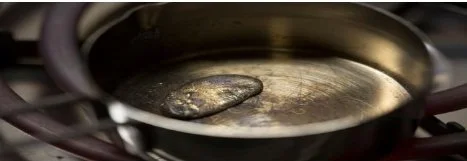
Step 3. Melt solder in a pot until totally liquified.
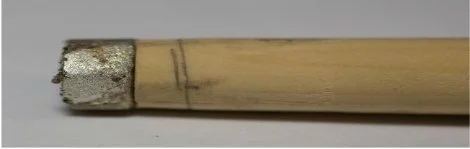
Step 4. Pour the liquid solder to fill inside the paper, around the square center. Allow the melted solder to cool and harden. After the solder is cooled, remove the paper. Then, using a peg sharpener, shave the rough surface around the solder making the soldered bushing smooth and able to fit the hole.

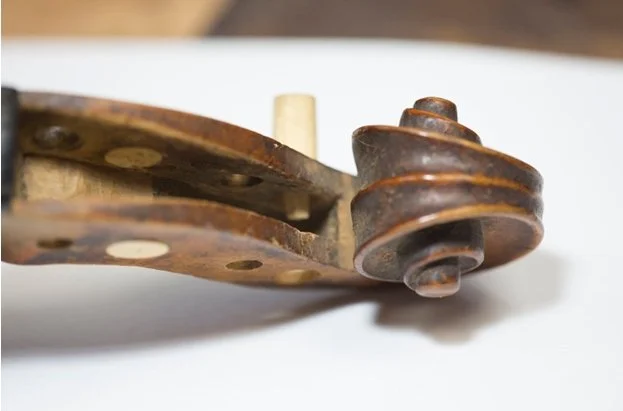
Step 5. Insert the bushing into the peg hole to pencil mark the cuts inside and outside the wall of the pegbox. Using a bandsaw cut at the marks on the wood and then the solder. If the soldered piece falls off during the cutting, it can be fastened with super glue.
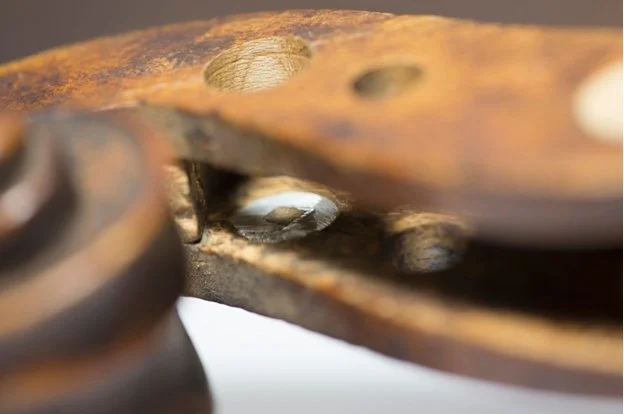
Step 6. Apply Original Gorilla Glue around the bushing. Insert the bushing into the peg hole, allowing it to dry for 24 hours
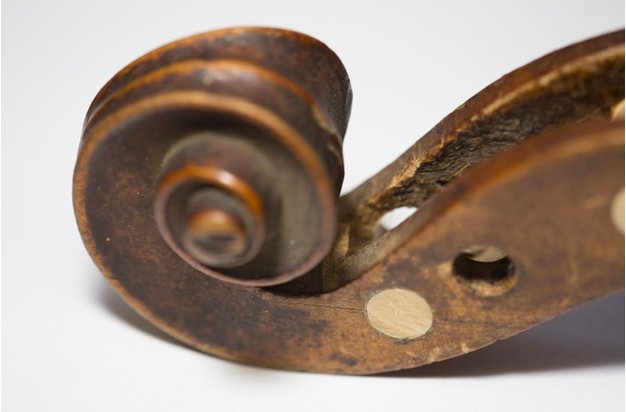
Step 7. Finally, drill a hole through the bushing to fit the peg.